
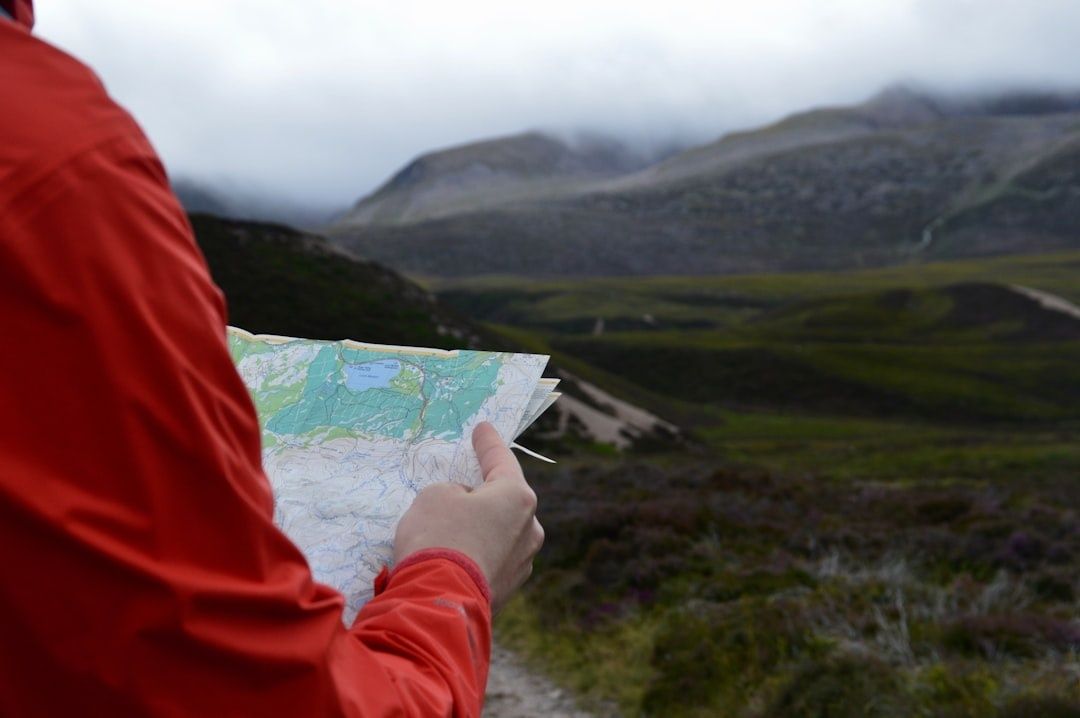
Lost Power, Found Path: How to Navigate Off-Trail Using River Landmarks and Dead Reckoning
When the Screen Goes Black in the Backcountry
A frozen phone or dead GPS battery can create an instant jolt of uncertainty. One moment, a glowing screen is confirming the route, and the next, the forest seems to close around you. Familiar confidence can disappear quickly when the trail is faint, the weather is changing, and every bend looks like the last. The first response should not be panic. Stop, protect your remaining resources, and shift from digital dependence to deliberate observation.
That shift connects modern hikers with earlier expedition travelers, including the Corps of Discovery as it entered vast territories without satellite feeds, electronic maps, or marked routes. Their instruments were limited, but their attention was disciplined. This guide explains how to turn rivers into handrails, use pace counts and adjusted bearings to estimate movement, and translate contour lines into the ridges, ravines, and watersheds beneath your boots. Dead reckoning is not a primitive substitute for technology. It is a timeless form of freedom that keeps your judgment active when technology inevitably fails.
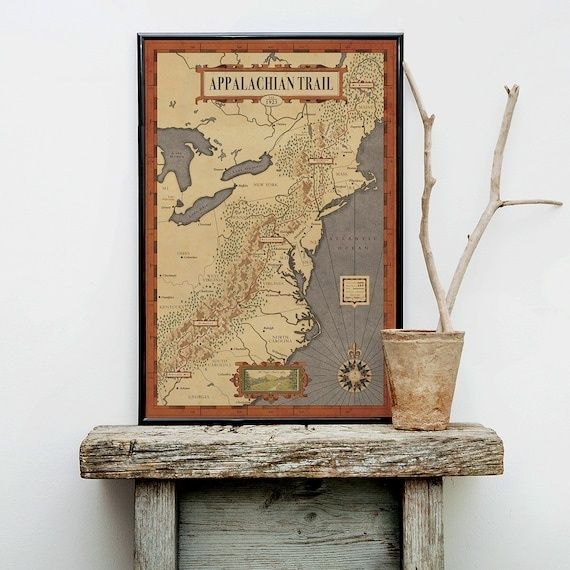
The Frontier Playbook of Lewis and Clark
Early explorers rarely knew their exact position at every moment. Instead, they began with a known location, selected a course, estimated travel speed, tracked elapsed time, and compared their expectations with visible landmarks. A river bend, prominent ridge, tributary mouth, or mountain gap could confirm that the expedition was progressing as planned. When the landscape did not match the expectation, the discrepancy became a signal to pause and investigate rather than continue blindly.
This is the essential idea behind dead reckoning. You estimate your current position from a previously known position, a direction of travel, a distance covered, and the time required to cover that distance. No single estimate is perfect. Brush slows movement, steep slopes alter stride, and breaks distort time calculations. Yet a series of careful observations can keep the error manageable. Reliable navigation instruction likewise treats dead reckoning as a form of proactive “staying found,” especially when combined with a map, compass, and environmental awareness. Before heading into remote terrain, study navigation tools and techniques so digital aids remain useful supplements rather than your only plan.
- Record your starting point, intended direction, and important nearby landmarks.
- Estimate travel time using a pace appropriate to the terrain, not an ideal trail speed.
- Write down each major feature you pass, including stream crossings, ridges, saddles, and unusual rock formations.
- Stop when your observations conflict with the map or your expected timing.
- Reconstruct the route from the last confirmed position before choosing a new course.
Rivers as Moving Handrails and Baselines
Rivers are among the most useful natural navigation features because they provide both direction and structure. A handrail is a linear feature that you can follow while maintaining a known relationship to your destination. A river, ridgeline, shoreline, or substantial road may serve this purpose. A collecting feature is a feature that gathers you if you drift toward it, such as a valley bottom or stream. A catch line is a boundary that tells you to stop or change direction, such as a major river reached while traveling downhill.
Water generally flows downhill, joining smaller channels into progressively larger streams. On a map, tributaries reveal the shape of the drainage network, while their confluence angles help you compare the paper landscape with the terrain around you. If a narrow tributary enters a larger river from the left, and the main river is flowing toward a distinctive bend, that combination can provide a much stronger position fix than the river alone. Be cautious, however. A small seasonal drainage may be dry, obscured by vegetation, or difficult to distinguish from a shallow depression.
Topographic mapping guidance from the Minnesota watershed delineation guide emphasizes that contour lines connect equal elevations and that water moves downhill across them toward channels. The same principles apply in the field. Identify the direction of flow, note the size and position of tributaries, and use surrounding ridges to determine which drainage basin you occupy. Never treat a river as an invitation to walk directly in its bed. Flooding, unstable banks, cliffs, tangled vegetation, and private or restricted land can turn a navigational aid into a serious hazard.
| Drainage feature | Navigational utility | Field clue |
|---|---|---|
| Main river | Strong handrail and catch line | Continuous channel, broader valley, stronger flow |
| Tributary | Position check within a drainage | Smaller channel joining the main stream |
| Confluence | Excellent landmark and route confirmation | Two channels meeting at a recognizable angle |
| Drainage divide | Boundary between watersheds | Ridge, saddle, or series of high points |
| Dry wash or seasonal channel | Useful but less reliable collecting feature | Gully, gravel bed, eroded banks, or sparse vegetation |
Calibrating Pace Count and True Bearings
Pace counting turns movement into a measurable estimate. Most navigators count every time the same foot strikes the ground, calling that unit a double pace. Before relying on the method, establish a baseline on level ground. Measure a known distance, such as 100 meters or 100 yards, and walk it at a natural expedition pace while carrying the equipment you normally use. Repeat the exercise several times and record the average. A pace count made in lightweight clothing on a flat path will not transfer perfectly to a steep, brushy hillside, so create separate estimates for different conditions.
A compass also requires careful interpretation. Its needle responds to magnetic north, not true geographic north, and the difference between those directions is magnetic declination, sometimes called variation. Declination changes by location and gradually changes over time. Before plotting a bearing, obtain the current local value from a dependable map or navigation source. The adjustment convention must be followed consistently. A common rule is to add a negative, westerly declination to the compass bearing and subtract a positive, easterly declination. For example, a 180-degree compass bearing with a positive declination of 10.48 degrees becomes 169.52 degrees for the adjusted travel direction. Check the convention printed on your map or compass instructions, because mistakes here can create a steady and dangerous offset. A practical explanation of adjusting for magnetic declination illustrates why the map remains unchanged while the compass direction of travel is corrected.
- Mark a known starting point on the map and identify the destination or intermediate landmark.
- Determine the map bearing and note the local magnetic declination.
- Adjust the compass bearing according to the declination convention used by your map or compass.
- Choose a visible object along the bearing, walk to it, and repeat the sighting process.
- Count double paces and record elapsed time at meaningful intervals.
- Compare the expected distance and timing with actual terrain features before continuing.
Thick brush makes a straight line difficult because it blocks distant views and encourages unconscious wandering. Use point-to-point sighting instead. Set the compass, identify a tree, boulder, or other safe object on the line of travel, walk to it, and sight again. When terrain permits, send one member of a group a short distance ahead while the navigator maintains the bearing, then reunite and repeat. Keep a written pace count, but treat it as an estimate rather than a guarantee. Steep slopes, snow, fatigue, obstacles, and detours all introduce error. If possible, practice these methods on familiar trails where a known map position can confirm how quickly small errors accumulate.
Translating Contour Lines into Tangible Hillsides
A topographic map is a compressed three-dimensional model. Contour lines connect points of equal elevation, and the contour interval tells you how much elevation changes between neighboring lines. Wide spacing usually indicates a gentle slope, while tightly packed lines signal steep ground. Several lines close together on a map may correspond to a demanding climb, a cliff, or a narrow ravine in the field. Reading this pattern before moving helps you predict not only difficulty but also the likely location of water and travel corridors.
Contour lines commonly form V shapes where they cross a stream valley, with the point of the V directed upstream toward higher ground. Follow those shapes to determine the orientation of a tributary and to confirm whether two channels should meet ahead. Ridges produce the opposite visual logic, with high ground extending between drainage systems. Use the map to identify saddles, ridge spurs, and watershed boundaries, then look through the trees for their physical counterparts. A ridge may appear as a subtle rise rather than a dramatic skyline, especially in dense forest. Stop frequently, compare the direction of slope on each side, and ask whether water would drain away from you or toward you. This three-dimensional visualization is more valuable than mechanically tracing lines without understanding the landform.
- Wide contour spacing suggests easier travel, but check for wetlands, thick vegetation, or hidden cliffs.
- Tight spacing warns of steep slopes, difficult footing, and possible elevation loss or gain.
- V-shaped contours usually point upstream along a drainage.
- Ridges and saddles form high ground separating neighboring watersheds.
- Streams flow downhill and generally cross contour lines rather than running parallel to them.
Step Confidently into the Wild Without a Screen
When a screen goes dark, navigation becomes an active conversation with the landscape. Instead of waiting for a blue dot to announce your position, you observe water flow, ridge lines, slope angles, confluences, timing, and pace. You form a working hypothesis, test it against the next landmark, and correct course before a small error becomes a major detour. This is the same practical discipline that allowed historic expeditions to move through unfamiliar country with limited information and immense consequences for poor decisions.
Build the skill before an emergency demands it. Practice counting double paces on familiar trails, learn how local declination affects your compass, and carry a paper topographic map protected from weather. Choose a short route with visible drainage and ridge features, then predict what you should encounter before setting out. Check those predictions as you go. The deeper lesson is simple: true outdoor mastery does not come from carrying more sophisticated screens. It comes from understanding the land beneath your boots, preparing for uncertainty, and stepping into the wild with the patient confidence of a well-equipped expedition.
By Magnus
- 4, Sep, 2026
- 0 Comments